Screaming ahead at a snails pace...
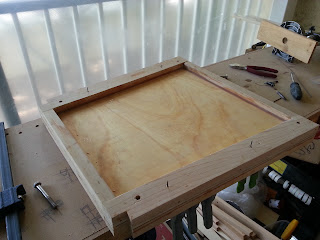
Got one hull dry fitted to make sure everything is ok and get prepared for final assembly at some point. Bit awkward in the small space and the stem especially was tricky to get fastened down..but got it done. Once assembled I checked everything over and made sure alignment is ok, and thankfully found nothing to worry about.
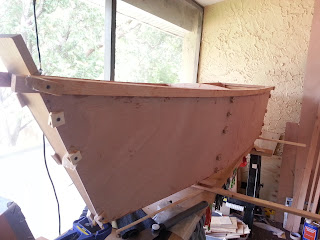 |
| After some wrestling and choice four letter words, everything secured and looking good. |
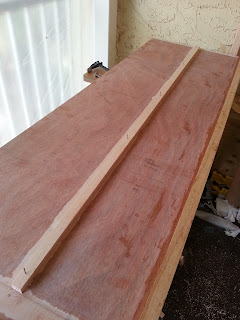
I then took it all apart again and decided to get the side supports for the cockpit floor ripped and fitted before final assembly.
 |
| Tacked in position temporarily with some finishing nails. |
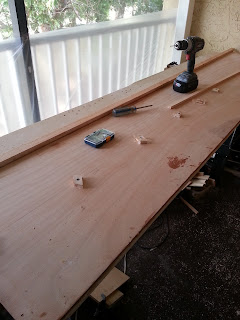 |
| Then flipped over and screws put in to hold it tightly for gluing. |
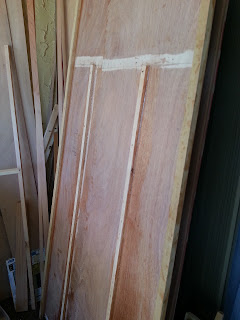 |
| Glued up and set aside to cure. |
The bolt holes in the bulkheads have been digging at my mind. I don't like the bolts going through the raw holes, digging at the wood and binding a bit as the wood moves with the crazy heat and humidity here. No doubt the binding would be mitigated greatly once the wood is epoxy sealed, painted, etc...but I still keep worrying about holes getting worn large over time and repeated assembly. It's also inevitable that moisture is going to get in those holes and likely into the wood there causing rot or swelling and binding. Probably much to do about nothing..but it kept bothering me anyway.
So I had a choice to make before the hull is assembled permanently and messing with the bolt holes becomes impossible, or at least difficult / dangerous. Either leave them as simple holes as is, sealing best as possible and dealing with any problems later; or do a bit of somewhat scary surgery and re-drilling the holes. I kept going back and forth on it and finally just flipped a coin...surgery and re-drilling winning out.
I decided to over drill each hole, fill them with epoxy, and then clean it up and drill the new holes through the cured epoxy. This should make a very durable hole that won't wear easily, and make any moisture intake a non issue..it will never get to the wood.
 |
| First some small steel rods inserted to allow easy locating current alignment later. |
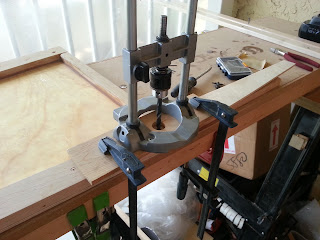 |
| Then drill jig located carefully on to the current hole. |


I like your idea of over-drilling the holes and filling with epoxy. What did you use to slightly thicken the epoxy and can you elaborate a bit more on the consistency of the epoxy you went with (i.e. how thick)? Thanks in advance!
ReplyDeleteHi Andrew, I used wood flour for thickening epoxy. In this case just lightly thickened, still runny enough that it could be poured in and settle.
DeleteI very much recommend it if you think you'll be disassembling/assembling regularly as I do currently. Now after significant use my bolt holes look as good now as they did when I made them.